Franka
This page gives information about usage of the Franka Research 3.
Physical robot
The physical robot can be started programmatically or manually.
Quick start (manual)
The following steps describe how to start the robot manually:
Start the robot (flip the button at the control box)
Connect your laptop with the control box’s LAN port using an ethernet cable.
Make sure to use these ethernet settings:
Address: 172.16.0.1
Netmask: 255.255.255.0
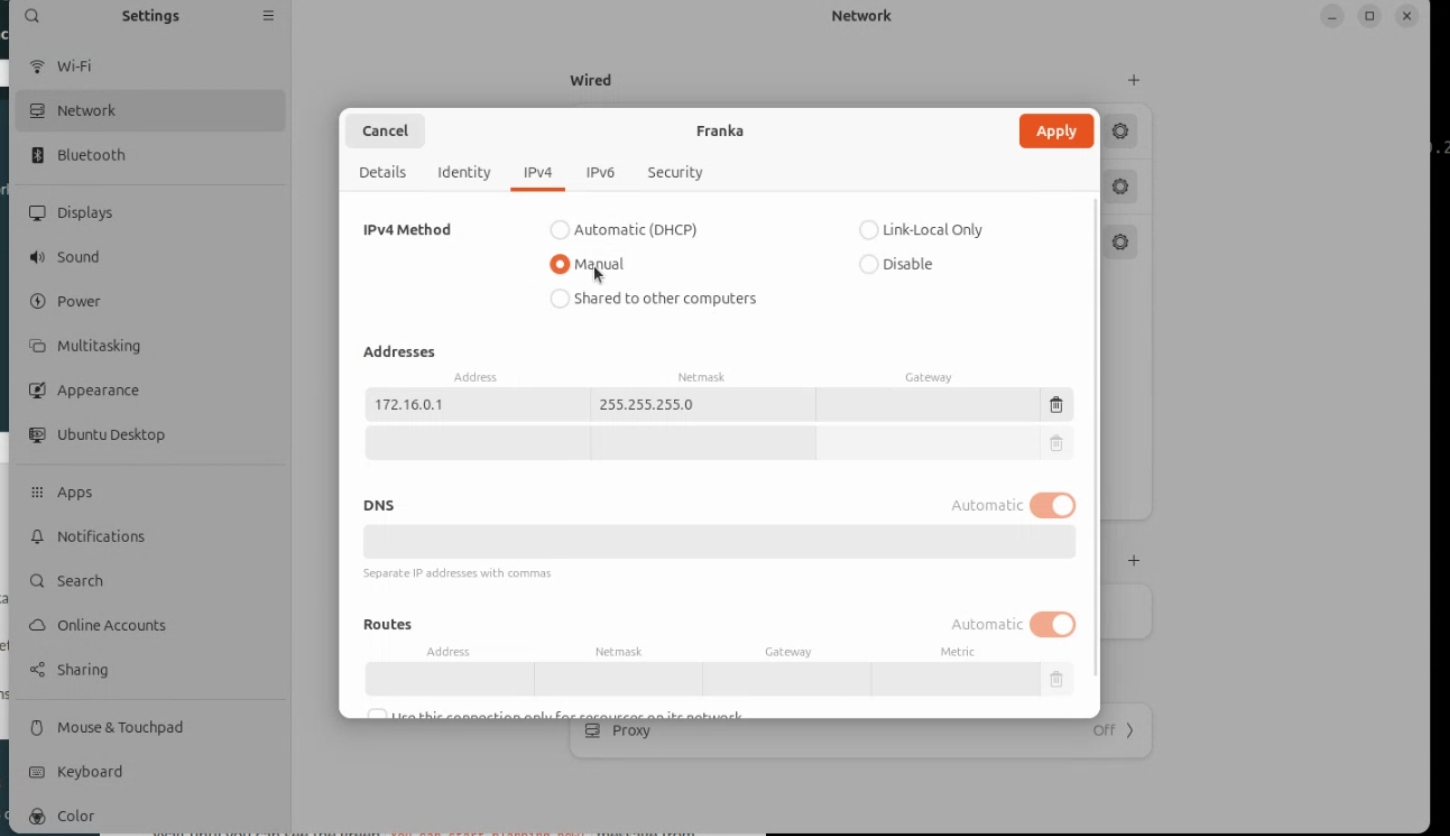
You may also want to consider making this a separate profile for future convenience.
Go to https://172.16.0.2, Franka Desk should now be reachable.
Login and click unlock to unlock the joints.
Click My Franka Robot > Activate FCI to activate FCI, the led’s should become green.
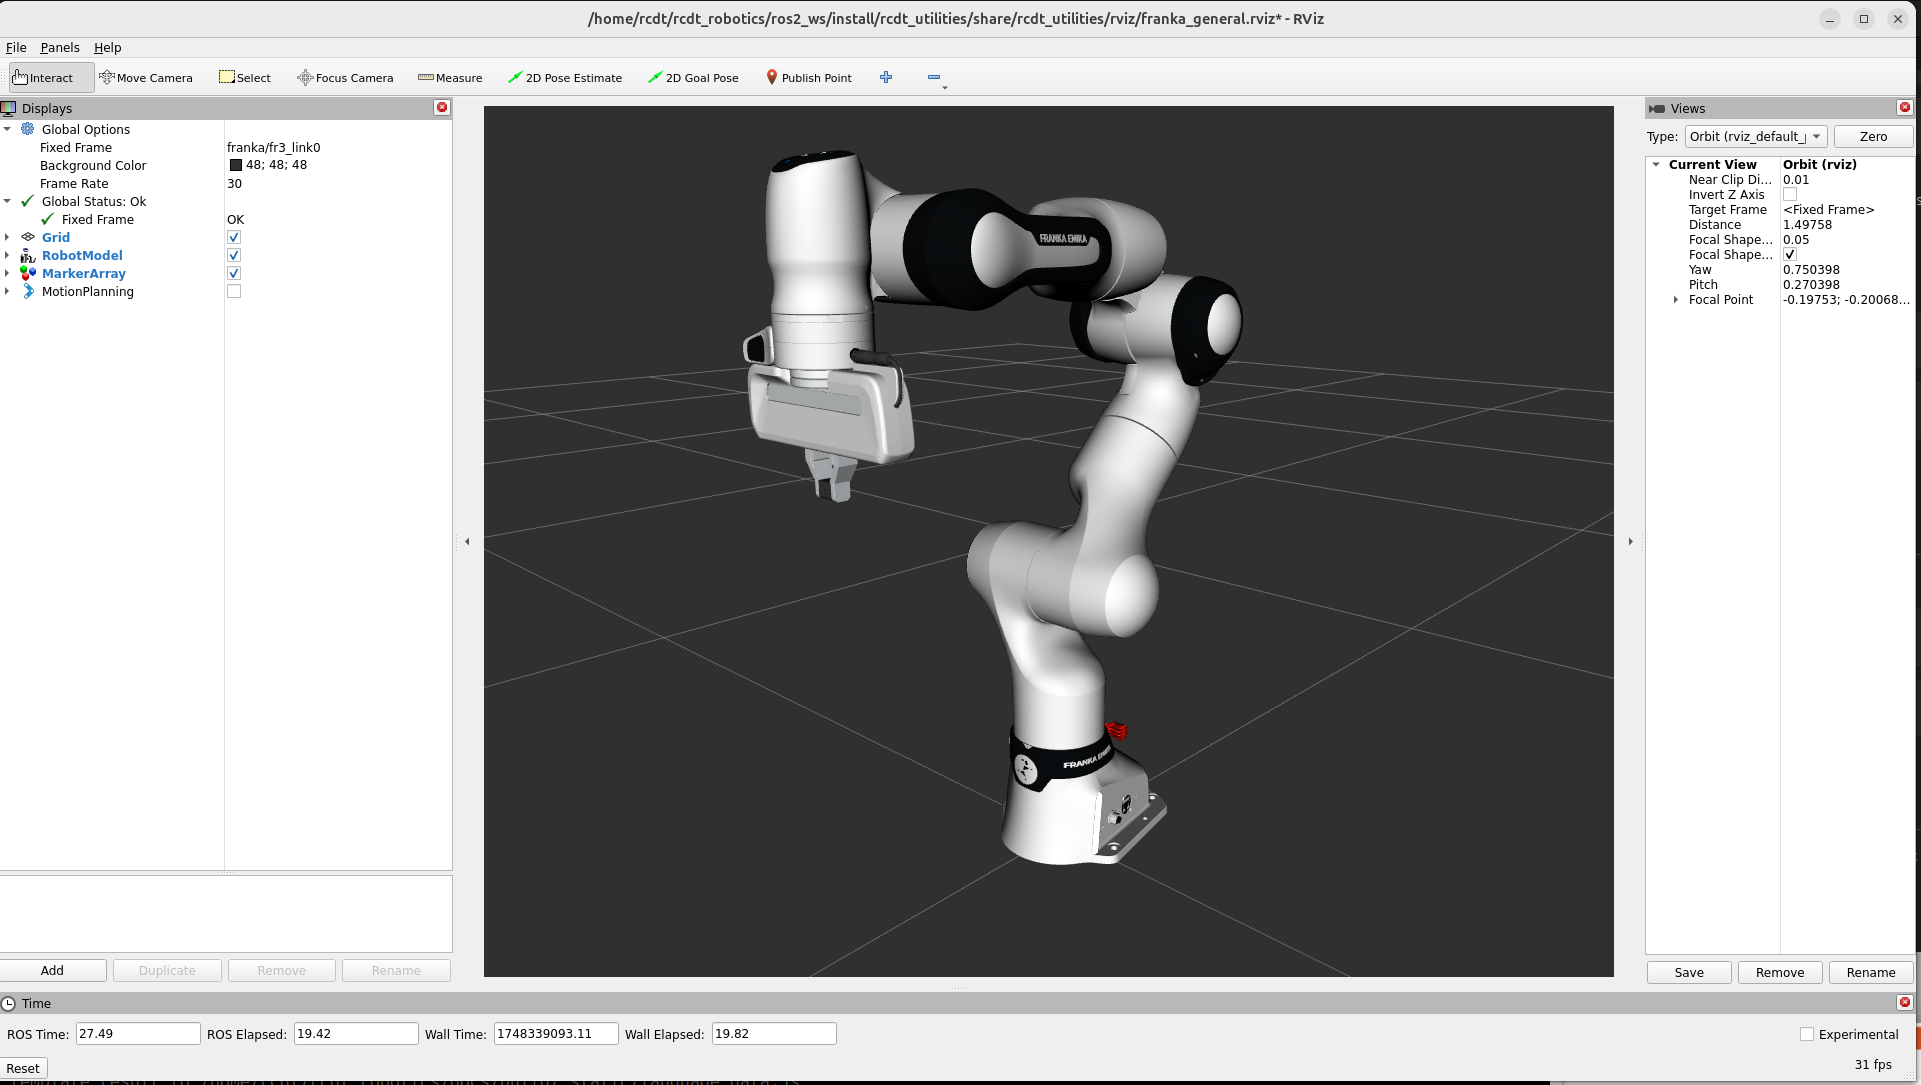
Launch the franka launch file with simulation=False:
ros2 launch rcdt_franka franka.launch.py simulation:=False
This should launch Rviz and show the state of the robot.
You can control the robot using a connected gamepad or using the MotionPlanning plugin in Rviz.
Quick start (programmatic)
You can also unlock and activate the FCI entirely from the command line by dropping a .env file in your workspace root:
# .env
FRANKA_HOSTNAME=your-hostname
FRANKA_USERNAME=your-username
FRANKA_PASSWORD=your-password
This functionallity is based on jk-ethz/franka_lock_unlock. With our fork with robot-specific enhancements: https://github.com/alliander-opensource/franka_lock_unlock.git
Now when you run:
ros2 launch rcdt_franka franka.launch.py simulation:=False
the robot will automatically unlock and activate the FCI.
Simulation
You can also start a simulation, without requiring a real Franka arm. Use the same launch file, but this time without the simulation flag:
ros2 launch rcdt_franka franka.launch.py